One of the most overlooked and underrated steps of building a new PC is figuring out how to neatly arrange the cables connected to your components. If you’re a computer enthusiast who spends all day browsing r/CableManagement, chances are you own a PC that has flawless cable management. If you don’t, you may want to consider tidying up those messy cables that you secretly tucked away behind your rig.
That’s right, we know all about them. In doing this, not only will your computer look polished, but it will also allow you to easily upgrade your components in the future. After all, no one wants to be stuck using the same old machine forever.
If you’re looking to tidy up your PC build, here’s a comprehensive guide to cable management.
Why Is Cable Management so Important?
When it comes to cable management, many people often wonder whether or not it’s worth it. While it won’t improve the overall performance of your computer, good cable management provides many benefits.

Aside from aesthetics, one of the main benefits of cable management is improved airflow through your chassis. As a matter of fact, there really aren’t any downsides to cable management apart from the amount of effort it takes to make wires look clean and tidy.
Below, we have listed the top three benefits of cable management.
Aesthetics
It goes without saying that a computer with good cable management looks better than a PC that looks like it was put together by a five-year-old. Naturally, unorganized wires simply block the view of what could be an impressive-looking gaming PC that you spent hours working on.
Even if you attempt to hide the cables behind your computer, most of the time, they are still visible. Which is exactly why you should tidy up all of the wires inside your case. This is especially important if you enjoy going to LAN parties or large LAN events where everyone can view your PC. At the end of the day, no one wants to see a cobweb of cables when they look inside your chassis.
Improved Airflow
If you don’t care for aesthetics, your main focus when it comes to cable management should be getting everything out of the way so that it doesn’t damage your PC. If your cables are so unorganized that they restrict airflow, good cable management is necessary to prevent high temps.
This is especially important if you’re one to overclock your CPU to get the most out of your computer. We will explain how to manage cables to improve overall airflow through your case later on in this guide.
Simple Upgrading and Easy Maintenance
If you’ve ever attempted to upgrade your system, you may already be aware that it’s much easier to access your components when messy wires aren’t hanging in the way.
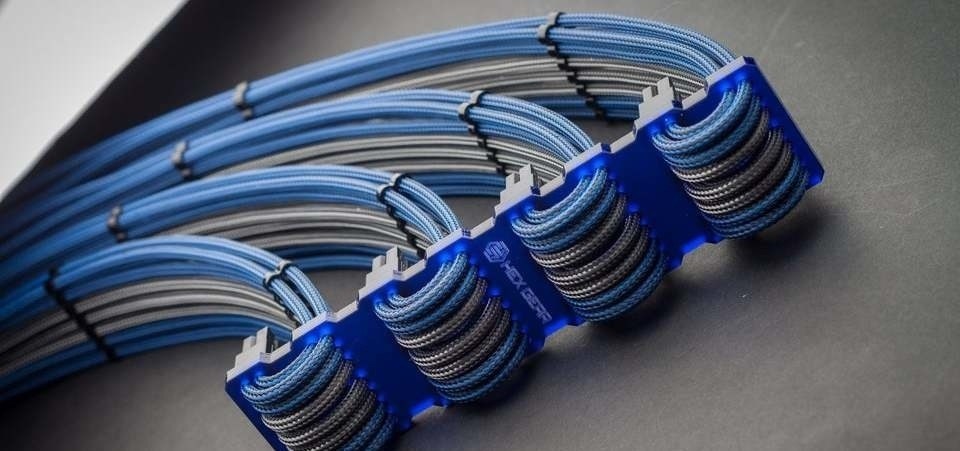
If you haven’t yet upgraded your system, chances are you will within the next few years. This is exactly why we recommend managing those messy cables now so that you can swap out your components in the future without any problems.
Getting Started: Tools for Cable Management
The first tool that comes to mind when you think of cable management is likely going to be a handy cable tie. One of the main reasons as to why they are so popular is due to how accessible and cheap they are, no matter where in the world you live. The great thing about them is that you can easily use them to (gently) grab a bunch of wires and secure them together for quick and simple cable management.
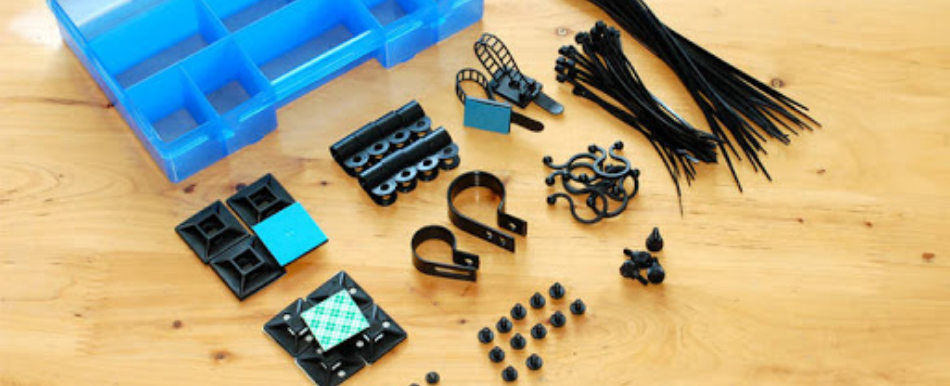
With that being said, there are some other tools we recommend gathering before you start organizing the cables in your PC case. Note that the tools you decide to use in the end will depend on your personal preferences and how you intend to manage the cables in your PC.
- Screwdriver
- Small and large zip ties/velcro ties
- Wire cutters or scissors
- ESD-compliant tape (optional)
- Cable sleeving/mesh (optional)
Now that you have all of the tools necessary to start managing those messy cables, it’s time to make a plan.
Before You Begin: Early Planning
If you start aimlessly hiding PC cables without a clear vision of how you want your PC to look in the end, things can become very messy. Without a plan of action, components may not fit where you want them to go, wires may be too short and your PC will inevitably look worse than it did before you even started.
For this reason, we suggest sketching out how you want your PC to look before you begin randomly taking it apart. Do take into account that unless you’re a perfectionist, expect to make a few tweaks as you manage your cables.
Does My PC Case Allow for Good Cable Management?
If your PC doesn’t allow for good cable management, you may want to consider purchasing a larger case with plenty of cable management options. This is particularly important if your case is filled with multiple RGB fans, a couple of hard drives and a large CPU cooler that takes up far too much space. While cable management in a small PC case certainly isn’t impossible, it’s a daunting task that not many people are willing to perform.
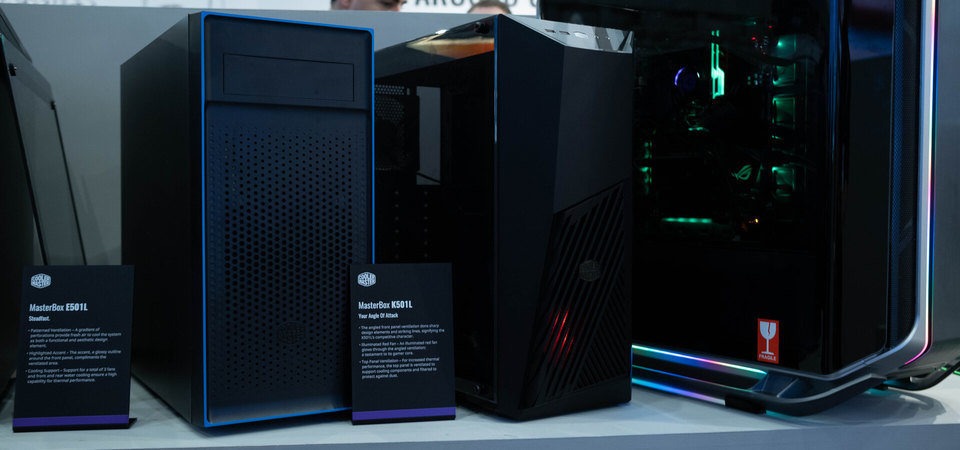
If you require a bigger case with plenty of cable management options but you don’t know what to look for, refer to our guide to the top 3 gaming PC mid-tower cases.
What If the Cables Inside My PC Are Too Short?
If the wire on your PSU is too short for your new PC case, don’t be alarmed! In this day and age, you can easily purchase a high-quality PSU extension cable for a fairly affordable price. You can even buy some custom cables to match the color scheme of your sweet gaming setup.
Having said that, you must consider your case, motherboard, and graphics card before you go and aimlessly purchase any old cable extension on Amazon. On the other hand, if you’re looking to upgrade your system with a brand-new PSU, make sure that you purchase one with a cable long enough to connect your components without problems.
Top Tip: Buy a Modular Power Supply
- To further improve cable management, we highly recommend purchasing a modular power supply with detachable cables so that you don’t have to worry about useless wires taking up space in your PC case.
How to Cable Manage a PC: Component Placement
Now that you’re ready to tidy up your case, it’s time to learn how to organize those messy cables.
The first thing you’ll need to do is remove all of the components from your case. To make things simple, you should also remove both the front and side panels for easy access.
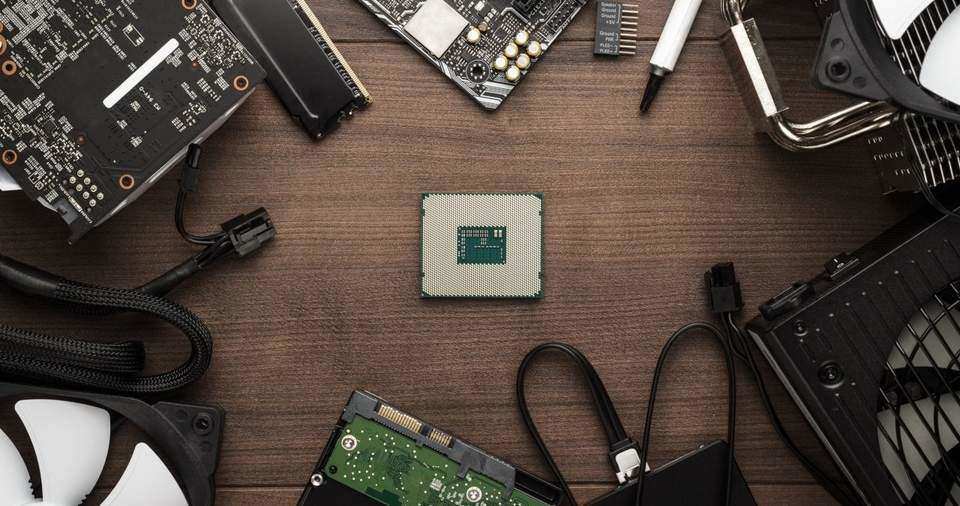
Alternatively, if you’re building a computer from scratch, simply gather everything you need to put together your new PC. Once you’re ready, locate all of the cable management holes on your motherboard tray and computer case so that you know exactly where to place your components.
Do note that cable management is all about trial and error and finding the best possible route for all of the wires in your PC case. Therefore, you may need to change a few things along the way.
Next, we suggest assembling the motherboard by installing the CPU, heatsink and RAM outside the case on ESD-compliant material. This way, you can test the components to make sure everything is working before it’s too late. After that, begin positioning your components close to the holes you previously found on your motherboard tray and PC case. If possible, try not to run too many cables through the same hole, otherwise, things could become messy.
Where you choose to start completely depends on your personal preferences and how you want your PC to look. That being said, we highly recommend starting with the cables connected to your motherboard before you begin working on the PSU, CPU, hard drives, SATA and GPU cables.
When organizing your components, try to route them to the closest hole before running them behind the motherboard tray and back through another hole close to the component it connects to. To reduce overcrowding, we suggest using full-length cables.
Practical Advice: As you attempt to make your case nice and tidy, you must avoid covering heatsinks, coolers and case fans as this can reduce airflow.
Your New Best Pal: The Motherboard Tray
When managing the cables inside your PC, the motherboard tray (or the gap behind the tray) is going to be your new best pal. These days, case manufacturers deliberately design their computer cases with mounts and holes in the motherboard tray so that you can easily run cables through them before routing them to their end destination. They even leave enough room behind the tray so that you can effortlessly tuck away and tie-down cables.
Tidy up the Cables Behind Your Case
Let’s face it: most people don’t give a damn how the back of their PC looks. While we agree that cable management isn’t always about appearance, you shouldn’t lose hope in making the back of your PC look pretty. If you do care about the overall look of your PC, don’t simply route wires through the back of your case and call it a day.
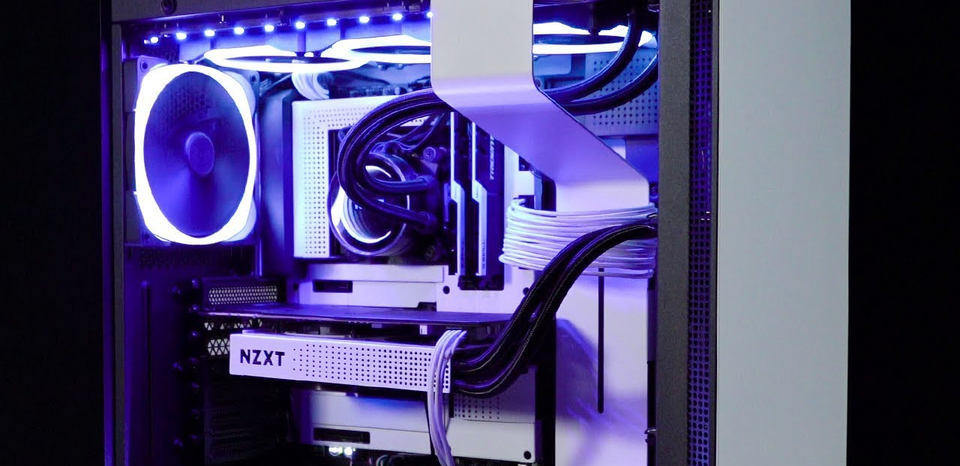
Instead, carefully run as many cables as you can around the edges of your case for a polished look.
What About Smaller Cables?
If you notice any small cables that look out of place, you can also clean them up using one of the crevices on your PC case. If you don’t have anywhere to hide them, simply flatten any small wires and use a cable sleeve to conceal them. You can also do the same with larger wires using zip ties (or velcro ties) and cable mesh sleeving.
Conclusion
There’s no denying that cable management can be a very daunting task, especially if your PC case already looks like a rats nest. But at the end of the day, it’s worth the effort for the aesthetics alone. While good cable management isn’t going to magically improve benchmark scores, it will maximize airflow and make it easier to upgrade your system in the future. Plus, who doesn’t want a computer that looks good from every angle?
Why not give it a try? Maybe you’ll improve airflow, maybe you’ll merely improve the overall look of your PC. Either way, it’s a bonus.
Now that your PC case finally looks tidy, it’s time to boot up your computer and start using it. If you’ve been spending time in quarantine playing Battlefront II with your pals and you want to improve your skills for the better, check out our guide to the best classes and reinforcements in Star Wars: Battlefront II for advice.