A power supply unit is the beating heart of modern gaming PCs, constantly providing the necessary power to its components. Our PSUs work under heavy loads and can be prone to failure. A malfunctioning power supply is a great hindrance because it can cause other components to fail, and it can even be a fire hazard.
The most obvious symptom of power supply failure is a sudden reboot. If it’s not getting enough voltage, the system will protect itself by rebooting or shutting down. If you are experiencing these symptoms, if error messages pop up constantly, or your PC just does not act properly, you should test your power supply unit.
If you conclude that you need a new PSU, refer to the best power supplies for gaming to find a replacement.
How to Test a Power Supply
There are two main ways to test your PSU on your own. The first method is to do it manually with a multimeter. This approach is cheap because all you need is a screwdriver and a multimeter, which should cost around $30 total. Although this procedure isn’t nearly as dangerous as rewiring your whole house, it does involve tinkering with electricity, so use caution and ask for expert help if you aren’t sure you can do this safely.
The second method is performed through a PSU tester, which is a handy device that can test your PSU automatically and safely—and for about the same price as a multimeter. A PSU tester costs $10 to $40, but it will give you a more precise result in less time, and it’s a safer option for inexperienced tinkerers.
Both methods should produce the same result if performed correctly, so the choice is completely up to you. We’ll walk you through the steps to test your PSU both ways.
Method #1: Manual Test Using a Multimeter
First, turn your PC off, unplug it from the electricity source, and open your computer case. Next, follow each cable from your power supply and disconnect the power connectors from every component.
You don’t have to extract the power supply from the computer case. Group and organize the power supply cables outside of the computer case to make the testing easier. Also, if you’re thinking you might have to replace your PSU, getting a modular power supply will make testing and overall cable clutter easier to handle.
- On the 24-pin motherboard power connector, locate the 15 and 16 pins and short them out with a piece of wire. If you’re unsure which pins are #15 and #16, check out this table to better coordinate.
- Check if the voltage on your power supply is set for the standard of your country. Here’s a handy guide that will help you in determining the voltage standard. Your PSU voltage should be mentioned on the PSU sticker or in your box/manual.
- Plug the power supply into the electric outlet and turn the switch on the PSU ON. The switch is located on the side of your PSU.
Testing the PSU
If you followed steps carefully and your PSU isn’t completely dysfunctional, you should notice the fan on the PSU working. Your PSU passed the first test, but it still doesn’t mean that it is working properly.

Next, turn on the multimeter and set it to Volts DC. If it doesn’t have an auto-ranging feature for voltage, set it to 10.00V
- Test the 24-pin motherboard connector first.
Touch the negative probe of multimeter to the grounded pin, and connect the positive probe to the pin you want to test. Test all pins individually and confirm that they are working properly. You should know the voltages that each pin should have and compare them with measured ones.
- Turn the PSU off and unplug it from the electricity.
- Remove the wire you used to short the pins of the 24-pin connector.
- Connect all power connectors to their respective PC components.
- Plug the power supply back in, turn it on, and turn your computer on, but leave the computer case open.
Test the pins of each of the other power connectors in the same way you did for the 24-pin power connector. Record the voltages and compare them to the tolerated values.

Once the test is completed, turn the computer off and return the cover onto the computer case
If you notice during testing that any of the recorded voltages are outside of the tolerated ranges, replace the power supply. Do not try to fix it, just replace it.
Method #2: Automatic Test Using a Power Supply Tester
- Turn off your computer, unplug it from the electrical outlet, unplug everything from the computer, and open the computer case.
- Disconnect all power connectors inside the computer.
Follow the wires from the power supply and make sure none stay connected to the computer components. There is no need to remove the power supply from the computer case.
- Organize and group the cables from the power supply outside the computer case for easier work and access.
- Check that the voltage of the power supply is set for the voltage of your country. The switch should be on the side of your power supply.
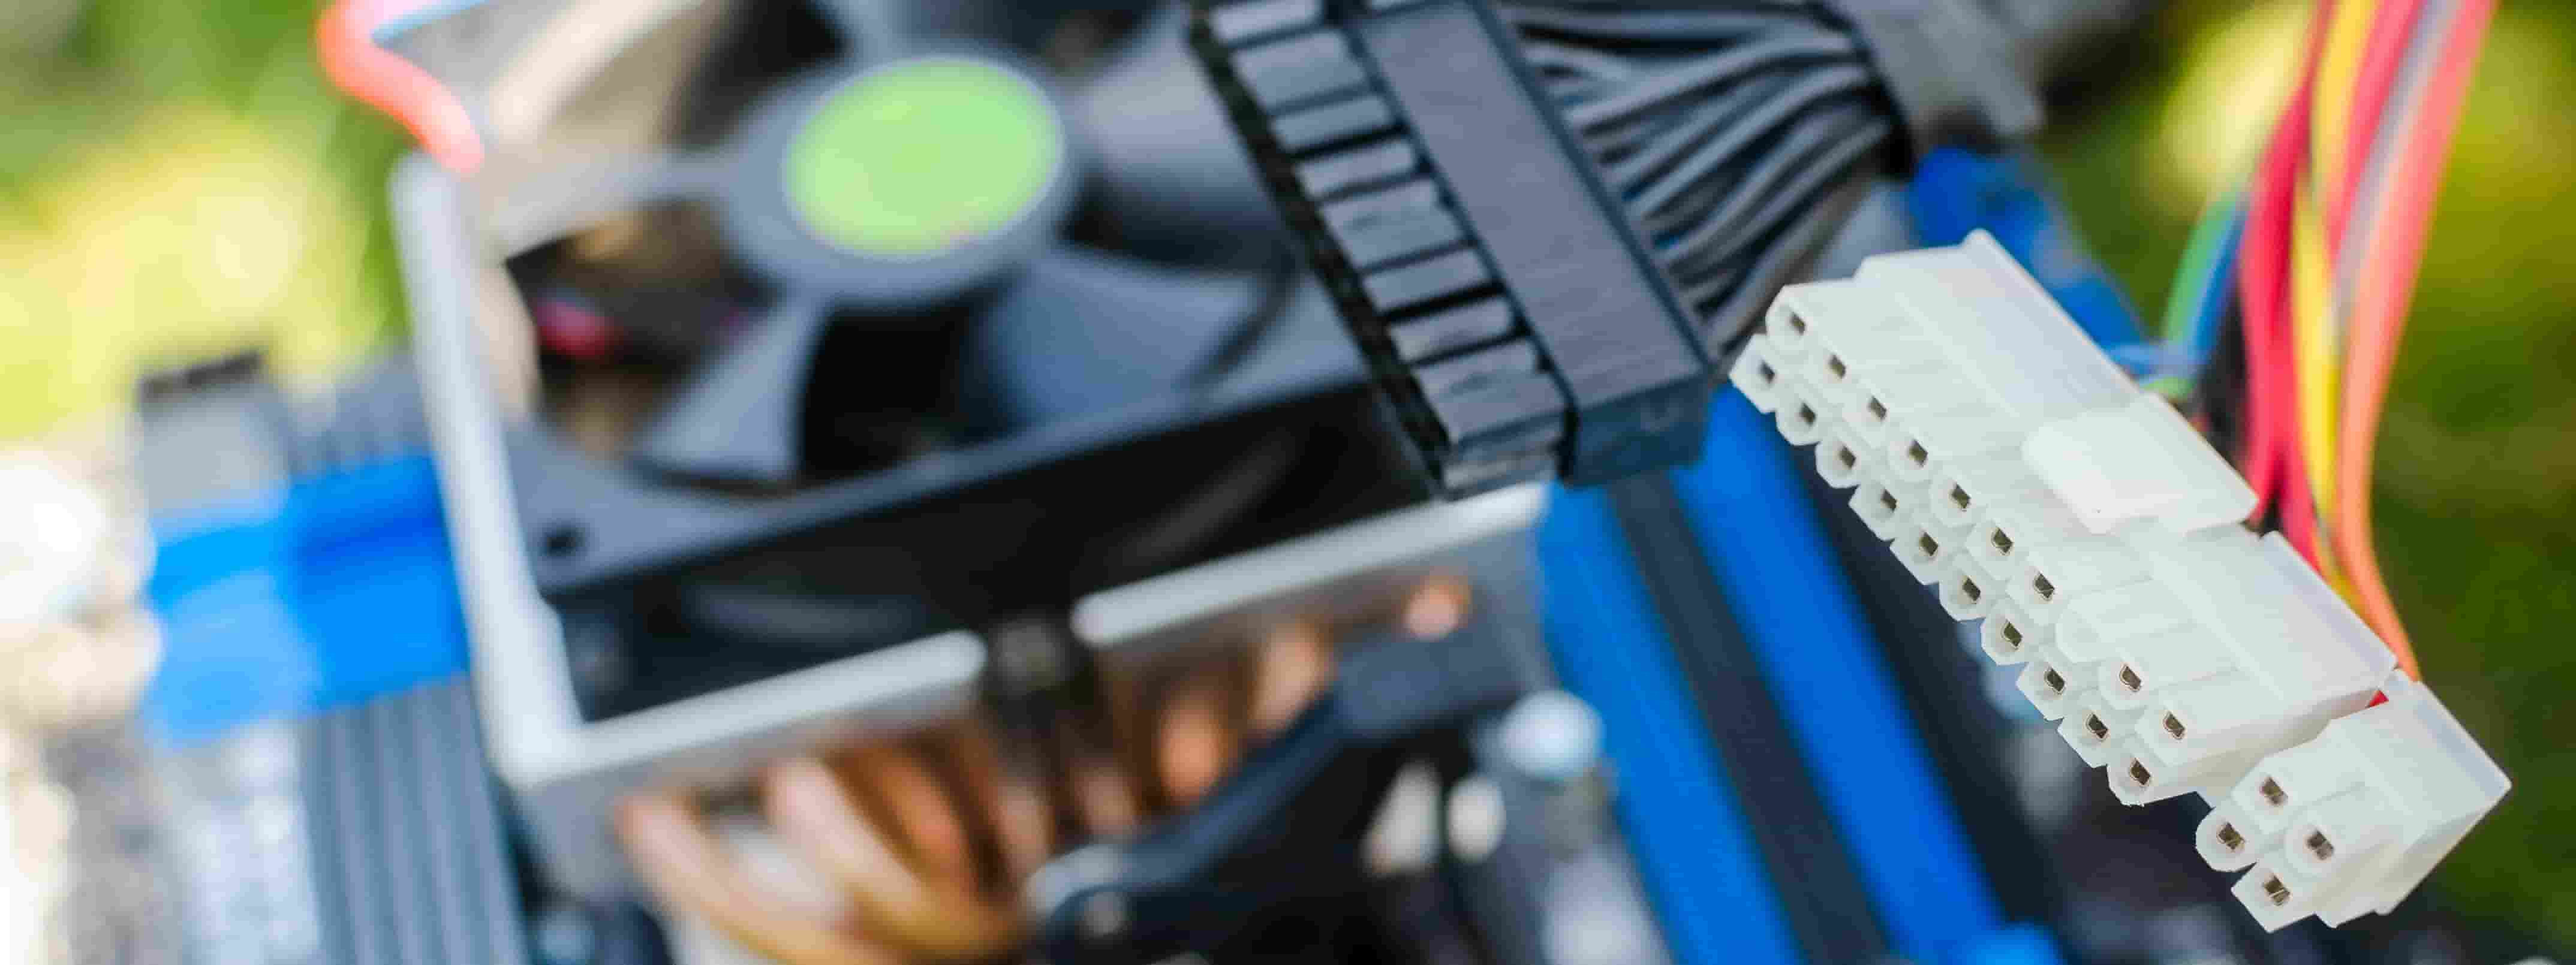
- Plug the main 24-pin motherboard power connector into the power supply tester along with any 4-pin, 6-pin, or 8-pin motherboard connectors.
- Plug the power supply into the wall socket and turn it on.
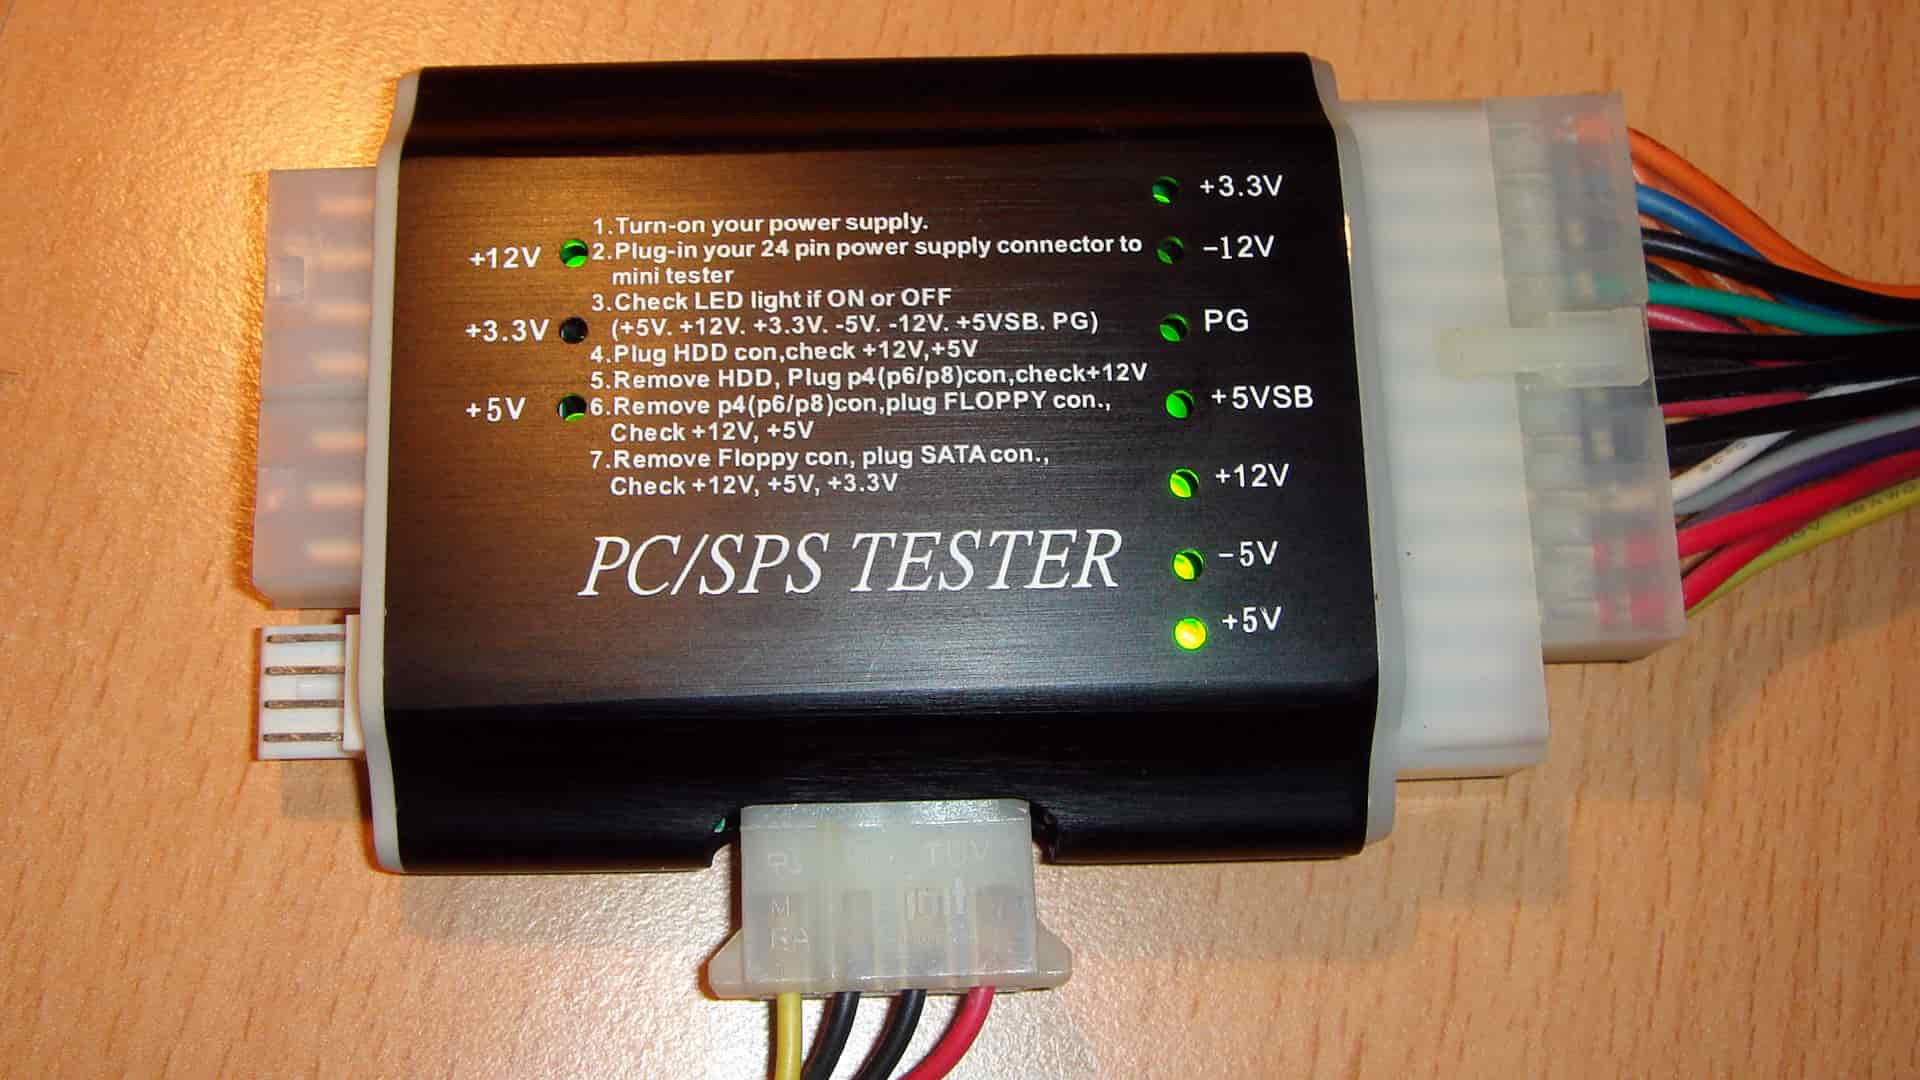
- Press the power button on your PSU tester.
Now, you should hear the PSU fan working. That, however, does not mean that the test is complete—there’s still one more thing to do.
Testing the PSU
Look at the screen of the PSU tester and confirm that it is lit and that you can read numbers from it. The tester is measuring voltages from the motherboard power connector and it compares them to desired values. If any voltage goes too high or too low, the screen will not light up. If it is lit, continue the test. Otherwise, stop and replace your power supply.
- Check the tolerated values for each voltage and confirm they coincide with measured values.
- Also, check that the PG delay has a value between 100 and 500ms. If this is not the case, replace the PSU.
- Turn off the power supply and unplug it from the wall.
- Leave the motherboard power connectors plugged in during the remainder of the test.
- Plug in each of the peripheral power connectors one at a time, along with the motherboard connectors, and remember to turn the power supply off every time you change the peripheral being tested.
Make measurements for every cable and compare the measurements with the tolerated ranges, as you did with motherboard connectors. If they are inside the given range, they are working properly. If not, replace the power supply. Once you complete the test, turn off the PSU, then disconnect it from the electricity source and disconnect the power supply tester.

If your power supply passed the test, it’s safe to reconnect all the power cables and return your PC to its normal state.
Final Words
Both methods of testing your power supply are relatively easy, but they still shouldn’t be done by inexperienced people. If you have to perform these tests, make sure to read the safety notes that came with your power supply and follow every step accurately. If you’re unsure about any of this, seek help from a professional.
If your power supply failed the test, make sure to replace it. For further assistance, you might want to reference our detailed PSU tier list.
Partially working PSUs will eventually fail, and they can damage other parts of your computer. Trying to fix it on your own is never a good solution. If you PSU passed the test successfully, but you still experience problems, it’s best to simply replace it.