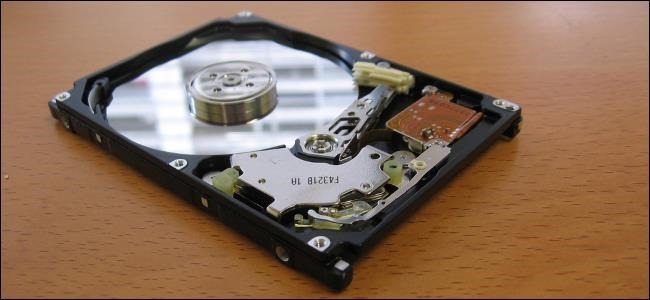
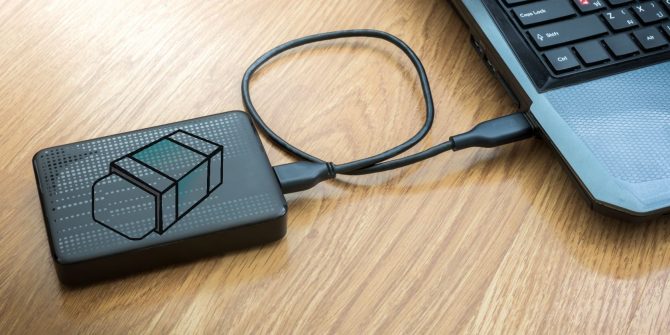
In my previous articles, I might have already told you a story about how I tried to partition an HDD for the first time—by literally splitting it into parts with a knife. Pretty much everyone found it adorable, except my father, who had until then been using the drive for work.
Ahh… We live and learn. Right?
If you’ve recently bought one of the best external hard drives for additional storage space, you’ll probably want to partition it. Don’t worry—I’ve learned a lot since my knife-wielding days and I know how to do it properly now.
Partitioning & File Systems
In order to use a hard drive, it must be formatted according to a certain file system. A file system is a particular method your hard drive uses to read, write and organize files. The three most common types of file systems are NTFS, FAT32 and exFAT. A hard drive can (and almost always is) partitioned into multiple sectors to make it more efficient at storing and retrieving data, and a single hard drive can even use different file systems for different partitions, if you have a need to do that.

We talk in-depth about file systems in our guide on how to format an external HDD.
Which file system you should choose depends mostly on the operating system you use on your computer. If you use Windows, then you should use NTFS in most cases. This file system allows reading and writing in Windows, but Linux and Mac can only read from it. FAT32 allows all operating systems to read and write it, but it limits individual file sizes to 4 GB and partition sizes to 8 TB. ExFAT works with Windows and Mac, but Linux users will need additional software. It does not have any file or partition size limits.
Deciding How to Partition an External HDD
There are three main partition types: primary, extended, and logical. A primary partition is the one for the storage of operating system files. It is the partition through which the computer starts up. An extended partition is a part of the primary partition, with storage space allocated for purposes other than system boot. A logical partition is created from an extended partition and is where all of your non-OS data will be stored.

There are a few different ways to create partitions on an external hard drive. The method of choice usually depends on the operating system you use, and we will show some of them step by step.
Method 1: Using Windows Disk Management in Windows 10:
- Plug your external hard drive into the computer
- Click on the ‘Start’ button and type ‘Hard disk partitions’ into the search bar
- Enter ‘Windows disk management’
- Find the external hard drive in the window. Right-click on it and choose ‘Shrink volume’
- Under the option ‘Shrink volume’, choose the size of the partition you wish to create
- Right-click on new unallocated space and choose ‘New simple volume’
- Follow the wizard and choose the amount of space to dedicate for this new partition
Choose a letter to designate the new partition. It can be literally any letter, although the most common are C, D, E, and F. I have no idea why we’re ignoring A and B.

Format the new partition to your file system of choice, then click ‘Finish’ to conclude the process.
Method 2: How to Partition an External Hard Drive on Mac
This process is quite different from partitioning a drive on PC, but it’s still simple even when it comes to external hard drives for Mac:
- Plug your external hard drive into the computer
- Start the Macintosh Disk Utility program
- On the left side of the Mac Disk Utility window, choose the external hard drive that you want to divide into partitions.
- Click on ‘Partition’ on the right side
- Within the ‘Volume scheme’ menu, choose the desired number of partitions
- Chose the name, desired format, and size for each individual partition and check the option for installation of Mac OS drivers
Now, click on the ‘Options’ button. Select the PC partition scheme in order to enable the partition’s use on Windows, if you’re so inclined. Then, click on the ‘Partition’ button and wait for the process to complete.
Method 3: Using the Diskpart Utility (Windows)
- Connect the external hard drive to your computer
- Click the ‘Start’ button
- Inside the search box, type ‘Run’ and open the Run utility
- Inside the Run box, type ‘Diskpart’ and press enter
- When the ‘Diskpart’ dialogue shows, type ‘List disk’ and press enter
- When the dialogue shows the list of all connected disks, select the one you want to partition
Here comes the complicated part. The next command to type is ‘create partition primary size=X,’ X being the size measured in MBs. If you want to create an extended partition, then the command should be ‘create partition extended size=X’. If you want to create a logical partition, type ‘create partition logical size=X’.

Next, type ‘assign drive letter=F’. This command will name the new partition and you should enter the desired letter for it. Wait a bit and the dialogue will tell you when it successfully completes the process of creating and naming the partition.
Method 4: Using the Partition Assistant Program (Windows)
This is a very useful method of creating partitions when you do not have unallocated storage space. Usually, this situation would force you to erase files and lose your data in order to provide unallocated storage space.

However, this free-to-download and easy-to-use program can help you create partitions without losing files in just a few steps.
- Establish a connection between an external HDD and the computer
- Install AOMEI Partition Assistant and start the program
- Right-click on the desired hard drive and choose ‘Create partition’
- A new window will open. Inside that window, click on ‘Advanced’ and you will be able to choose the size, file system, letter, and the type of partition for your new partition
- After everything is set, click ‘OK’
Final Words
Hard drives are getting bigger every day, our work and everyday lives demand more storage space, and partitions are one thing that make it possible to organize data better and more easily.
If you’re rocking an external hard drive for PS4, worry not, as the formatting/partitioning process is the same. Just plug it into a PC or a Mac and follow the same steps we’ve outlined here.
Sources:
- C. Taylor, How to Partition an External Hard Drive, Chron
- How to Partition Your External Hard Drive in Windows 7, WikiHow