If you’ve never installed or swapped out your own GPU before, it might seem like an intimidating prospect. Fear not—it’s super, super easy, we promise. Even easier than ignoring a Genji main who needs healing.
We’ll show you how to do it (the GPU upgrade, that is) in five minutes or less.
Don’t worry, we won’t break your new RX 580, we are professionals.
Gather Needed Supplies
You don’t need much to install or swap out a GPU, but you will need a few things. A small #0 or #1 Phillips screwdriver should do (unless your new GPU uses thumbscrews). You’ll also need a video cable compatible with your onboard video card—you know, the crappy one right on the motherboard that nobody ever uses.
Depending on the makes and models of the GPUs you’re updating to and from, you may not need to use your onboard video, but better safe than sorry. Some GPUs aren’t plug-and-play, and some claim to be, but aren’t. You might need to plug into your garbage Intel card to be able to see anything at all on your monitor, at least until you get the new drivers installed.
How to Install a GPU
Step 1: Disconnect power and open your PC case
It’s pretty much right there in the heading. Switch off your power supply, unplug it, and gently lay your PC on its side. Do this in a non-carpeted room if possible, or at least don’t wear socks. Touch a metal surface to discharge any static electricity before opening your case.
Consider wearing a grounding bracelet if you’re the “not taking any chances” type.
Step 2: Remove old GPU
If your current GPU is secured with tabs or screws, unsnap/undo them. Disconnect the power cable and pull straight up, firmly but slowly, on the body of the card. It should come free easily. Set it aside.
Step 3: Install the new GPU
Presumably, your new video card needs a PCI-E x16 slot, just like your old one (also presumably) did. Align it carefully and push straight down until it clicks into place.

Secure the tabs if there are any, and/or secure the GPU to the rear wall of the case with a screw, if it has a bracket for doing so. Connect the 6- or 8-pin power cable and ensure that all cords and dangly bits are secured out of the way of the GPU’s fan. If your GPU fans are not spinning, don’t get scared, it probably means you mixed something up with cables.
Step 4: Switch to onboard graphics
If you’re paranoid like we are, you’ll assume that there will be display driver problems at first, so you might as well go ahead and do this extra step proactively. Put your case back together and connect your onboard video source to your monitor, leaving the new GPU disconnected for now.
Step 5: Driver upgrades
Uninstall your old GPU drivers. If you’re switching brands (from an AMD card to NVIDIA or vice versa), this probably isn’t strictly necessary, except to free up hard drive space. If you’ve been using NVIDIA GeForce Experience and intend to continue doing so, you probably don’t need to manually uninstall your old drivers, but it can’t hurt, and it might help to avoid conflicts. If you’re upgrading from one AMD graphics card for gaming to a different one, you should manually uninstall the old drivers first.

In any case, locate, download, and install/update the drivers for your GPU, then restart your PC.
Step 6: Switching back
Once you’re back at your desktop, the final step will be slightly different for NVIDIA and AMD users.
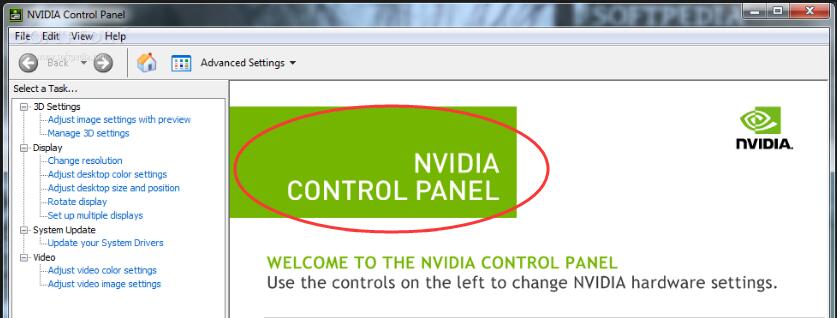
NVIDIA users: Right-click anywhere on your desktop and select “NVIDIA Control Panel.” Click “Manage 3D Settings” and navigate to the “Global Settings” tab. From the drop-down menu there, select “Always use my NVIDIA card.”

AMD users: Right-click on the desktop and open the AMD control panel. Select “Graphics,” then “PowerPlay.” Select “Maximize performance” for both the “Plugged in” and “Battery” settings. Finally, select “Gaming,” then “3D application settings” and set the slider to “Maximum Performance.”
Final Words
You may need to restart your PC one final time for the new settings to take effect. Connect your brand new high-quality gaming GPU to your monitor with an appropriate cable if you haven’t done so already—and you’re done!