Even a powerful gaming PC always has some room for improvement. Sometimes, the hard drive is the weakest link. No matter how much space your hard drive has, even if you get the best HDD for gaming, you could always use some more gigabytes.
Music, games, and other large files increase the required amount of storage every day. Insufficient storage can force you to regularly delete content you’d rather not get rid of to make room for more. Fortunately, some excellent external hard drives can make your life easier.
External hard drives aren’t just for extra storage, though—they can be used to create backups of your important data, and in a few other creative ways, too.
How to Back Up a Hard Disk Automatically
Whether you use your computer for gaming or work, we can all agree that one of our greatest fears is to lose precious data due to hard drive failure or similar problems. For that reason, one of the most beneficial ways to use an external hard drive is as an automatic backup.
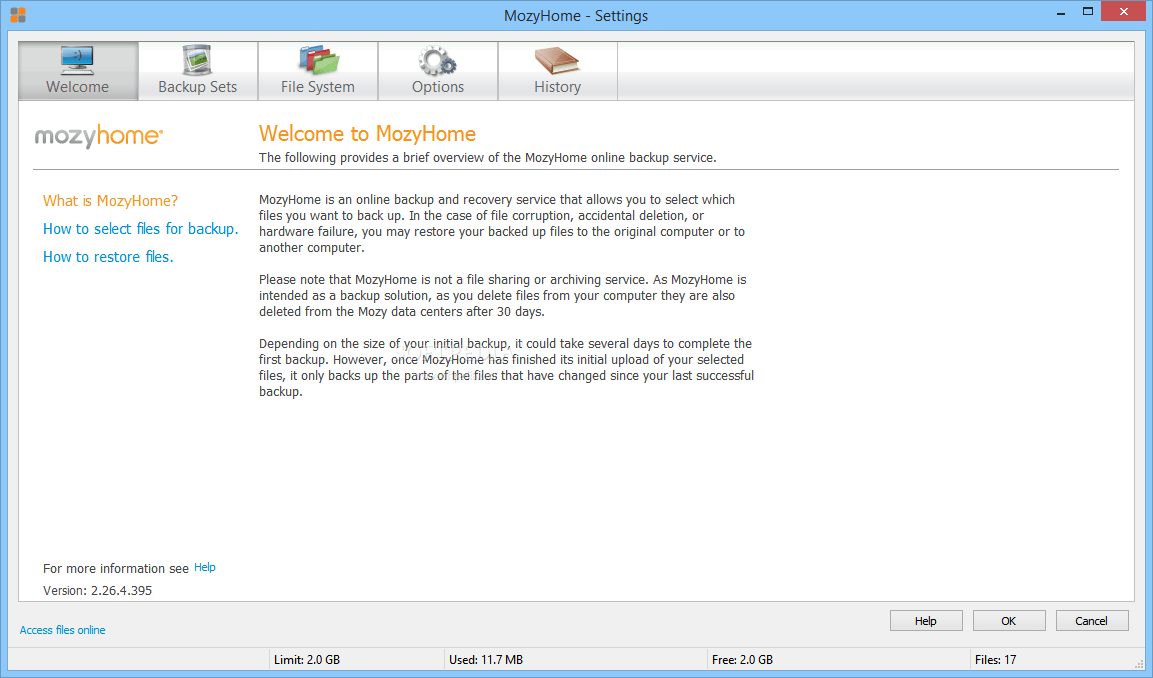
Here are the easy steps to set up an automatic backup on your PC:
- Create an account on MozyHome—it’s a free and easy-to-use software for creating automatic backups
- After signing up, install the software on your computer
- Connect your external hard drive to your computer
- Open Mozy
- Open the ‘File System’ tab to will display your main hard drive and its folders
- Check the boxes for all folders that you want Mozy to back up
- Open the ‘Options’ tab to set up the way you want your backups done
In the general settings, you can choose to be alerted on the status of your backups. In the scheduling section, you will be able to set how often you want to back up your data.
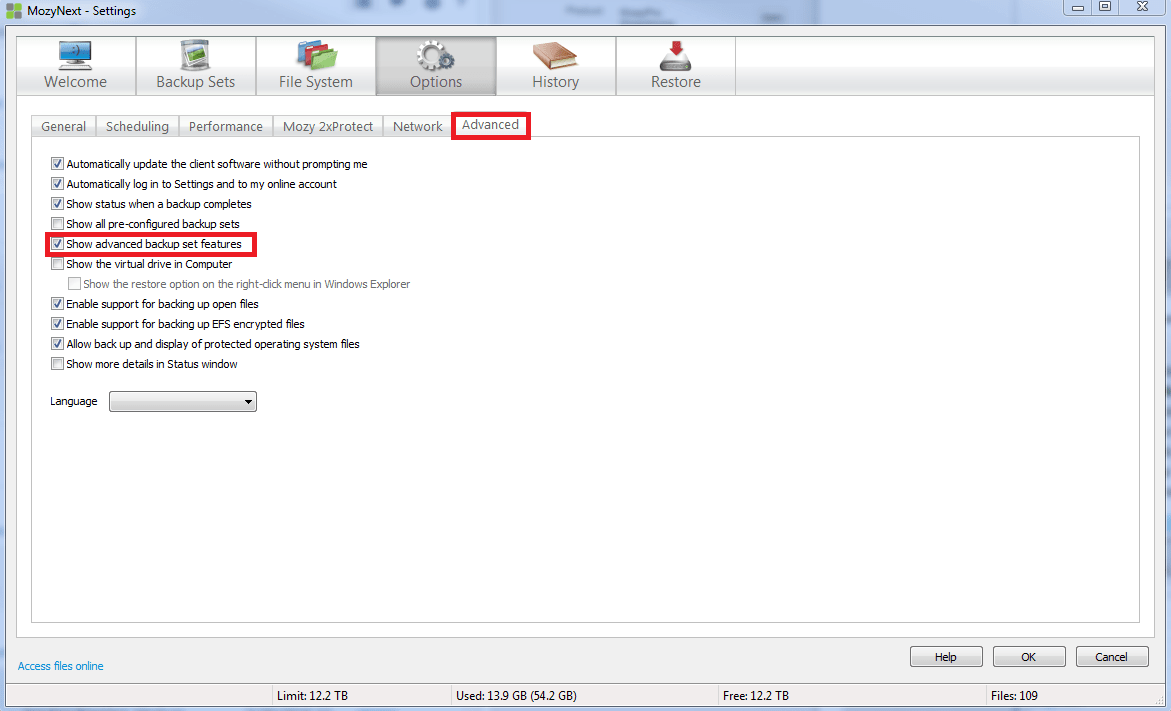
If you create a lot of vital files daily, it could be useful to create backups every day. In the performance section, you can set specify whether your computer should prioritize completing backups quickly or minimizing backups’ impact on system performance.
By default, Mozy creates backups online. Enabling the local backup setting will direct Mozy to create backups on your external hard drive.
Once you set up Mozy, it will display its icon in My Computer along with other drives. When you click on that icon, you will be able to see your backups.
How to Clone a Hard Drive
Another convenient way to use an external hard drive is to clone your primary hard drive. Local backups help you restore lost data in case of a hard drive failure, but it takes time and effort to do so. A cloned hard drive is an exact copy of your primary drive, including your operating system files; you can simply plug it in, boot from it, and carry on.
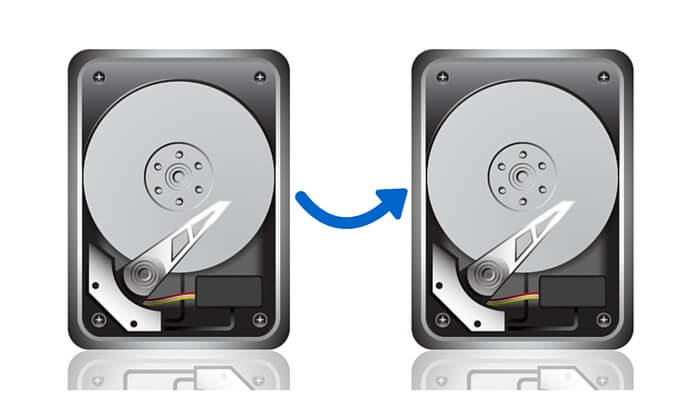
To make a cloned hard drive from your external drive, you will need specific software. We recommend using EaseUS, but you can look for other options.
Once you find and install the required software, plug in your external hard drive and start the cloning process. The software will allow you to choose whether you want to use the whole hard drive or just one partition. Just follow the wizard, and once you complete the process, you cloned drive will be up and running.
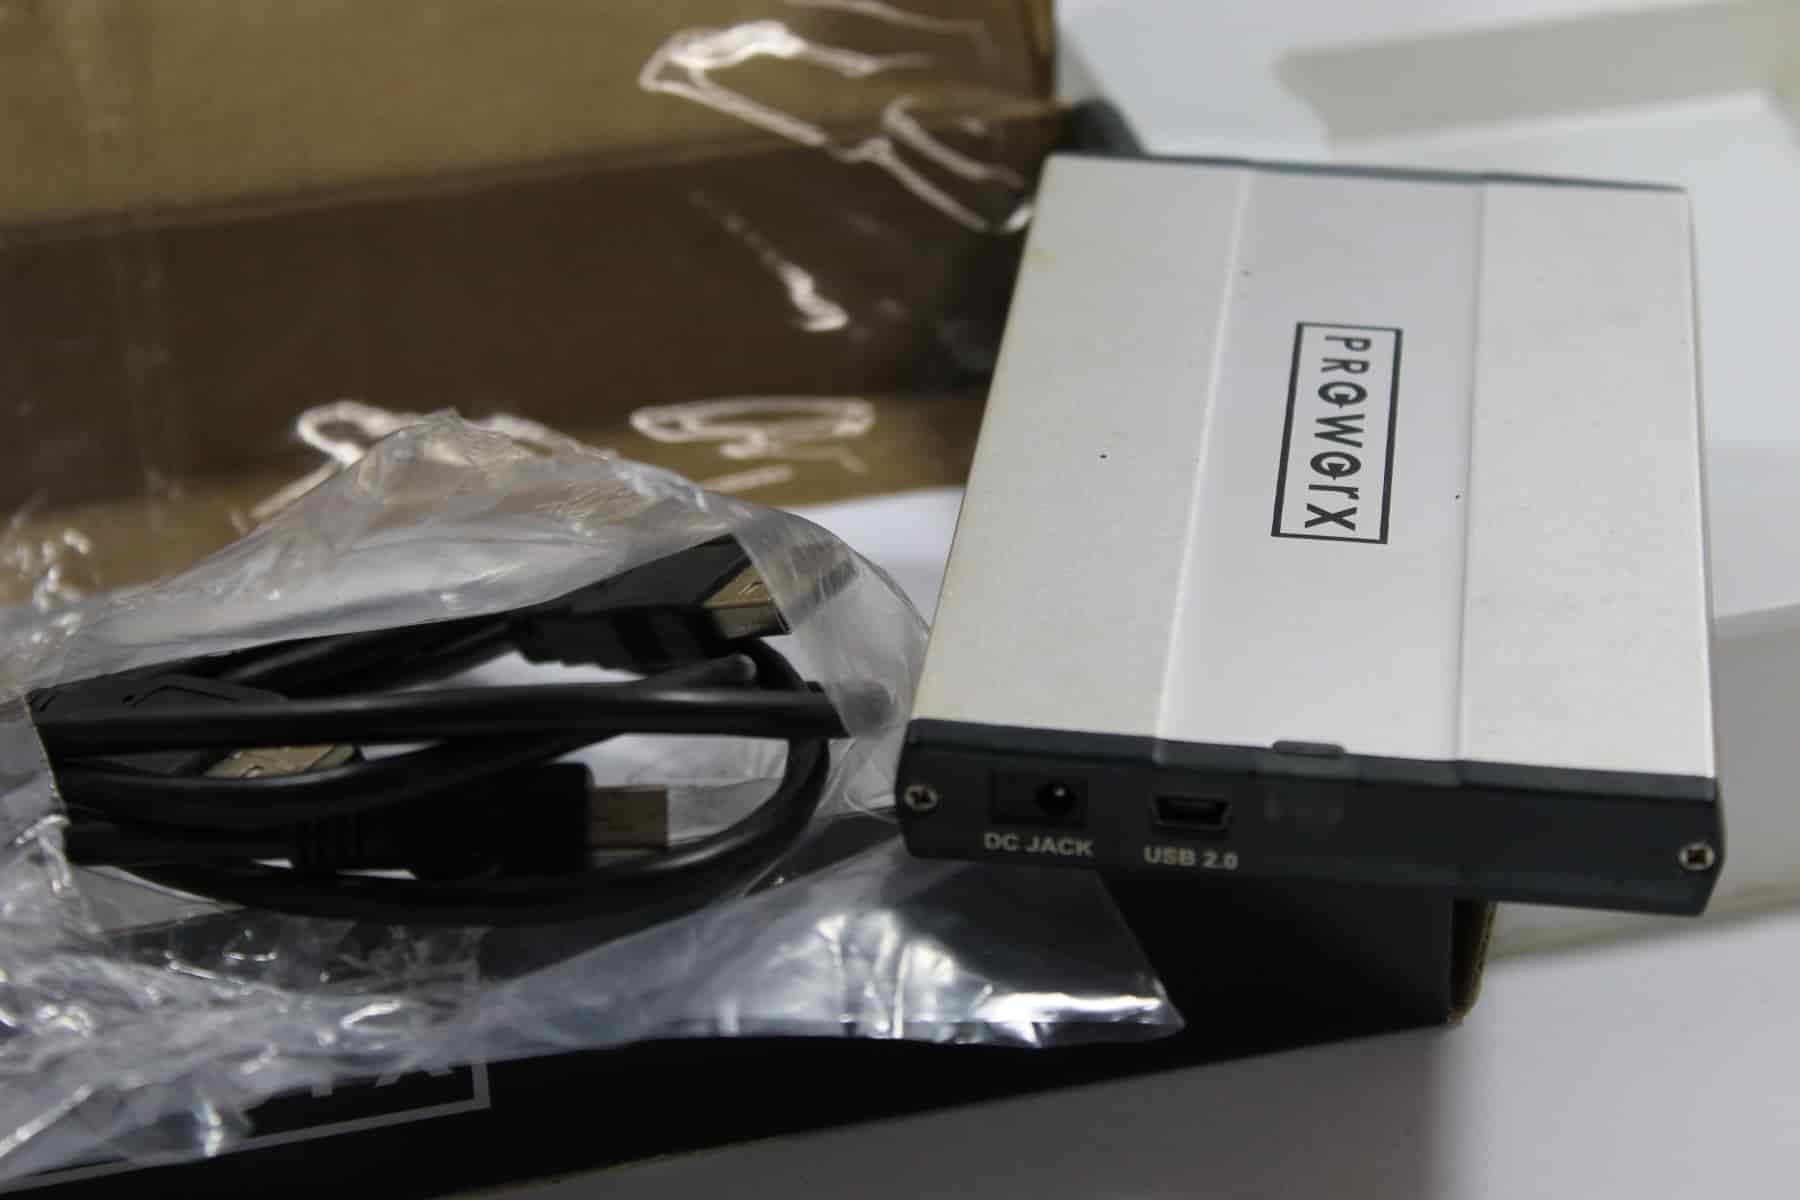
Here’s a detailed guide on how to partition an external hard drive.
If you are using your computer for video editing, it will constantly cache files into the hard drive. Frequent reading and writing from the internal hard drive will make it considerably slower, thus hindering the performance of your PC. A wise solution is to plug your external drive in and use it as a scratch disk. That will take an enormous load off your internal hard drive, resulting in better PC performance.
How to Use an External Hard Drive on Windows
First, read the manufacturer’s manual and get to know your hard drive. Information you get from here will be of great value in the future.
- Plug it into your computer and turn it on
- Your hard drive should be immediately detected and recognized as a storage device, but in some cases, you might need to install a driver
- If your external hard drive is not detected in My Computer, open Control Panel
- Choose System and Security and find Administrative tools
- Choose Computer Management
Finally, click on Disk Management and find Storage. You should be able to find your external drive there. If you experience any further trouble, try to format the HDD and repeat the process.
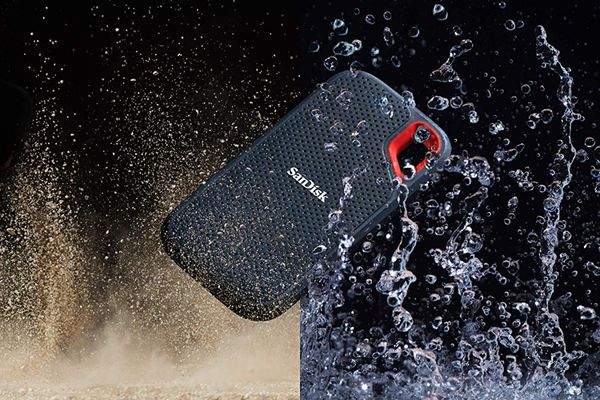
If it still doesn’t work properly, contact the manufacturer or get ready to use your warranty.
How to Use an External Hard Drive on Mac
If you own one of the best external HDDs for Mac, the process is fairly simple. Plug your external hard drive into your computer. It should be ready to use. However, you should keep in mind that different operating systems use different file systems.
You might want to learn how to format your external hard drive and set it to the FAT32 file system. That will allow you yo use the hard drive on Windows and OS X.
- Open the Disk Utility
- On the left side of the screen, you should be able to find your external hard drive
- Click on the external hard drive and choose ‘Erase’
- Choose the desired file system format in the drop-down menu and click the ‘Erase’ button
After the formatting process is complete, your external hard drive will be ready to use. Again, if it’s malfunctioning, either try the process again or contact the manufacturer.
Final Thoughts
Within this short article, we showed the flexibility and simplicity of external hard drives. It’s incredible that such a small piece of hardware represents one of the most practical inventions in recent years.
Furthermore, you were provided with a couple of tips for the practical use of external hard drives to make your data storage and organization more convenient. We are sure that you can find even more creative uses for an external hard drive if you try.