Just as hair gel will improve your physical appearance, thermal paste will make your PC cooler. Okay, it’s not the same thing, but you get what I mean.
Whether you are building a new computer or just conducting regular maintenance on an old one, you probably already know how important heat distribution and cooling is. The problem here is that many Internet Experts advise applying thermal paste in ways that are just wrong, which can be just as bad as not having any at all.
If your computer overheats, it may shut down to protect the components. In the long run, the components can sustain permanent damage from overheating. For these reasons, getting the best thermal paste out there and applying it correctly is critically important for computer maintenance.
What is Thermal Paste?
Before we get to the topic of thermal paste application, we should first emphasize the importance of good quality thermal paste. There are different kinds of thermal paste. Cheaper ones are mainly made of silicone and zinc oxide.
Those will do the job for an average PC.
On the other hand, if you are building a high-performance PC, or if you are overclocking your CPU, you should pay more attention to cooling. In that case, you should look for a better thermal paste, one mainly made of silver, copper, and gold. Those transfer heat much more efficiently, and they will ensure much longer life of your CPU. I mean, if you’re rocking one of the best CPUs for gaming (which are expensive), you don’t want it ruined thanks to poor heat management.
Methods for Applying Thermal Paste: What NOT to Do
You have probably found a lot of different methods of thermal paste application on the internet. There is the line method, the X method, the spiral, the spread method, and many others. We have to admit that it is becoming very confusing with all these different tips coming from all sides.
The line method recommends that you apply the thermal paste in one thin line across the center of the CPU. Afterward, the thermal paste should be evenly spread with the mounting of the heat sink. Unfortunately, this method is not efficient. It will only “work” if you apply too much thermal paste.
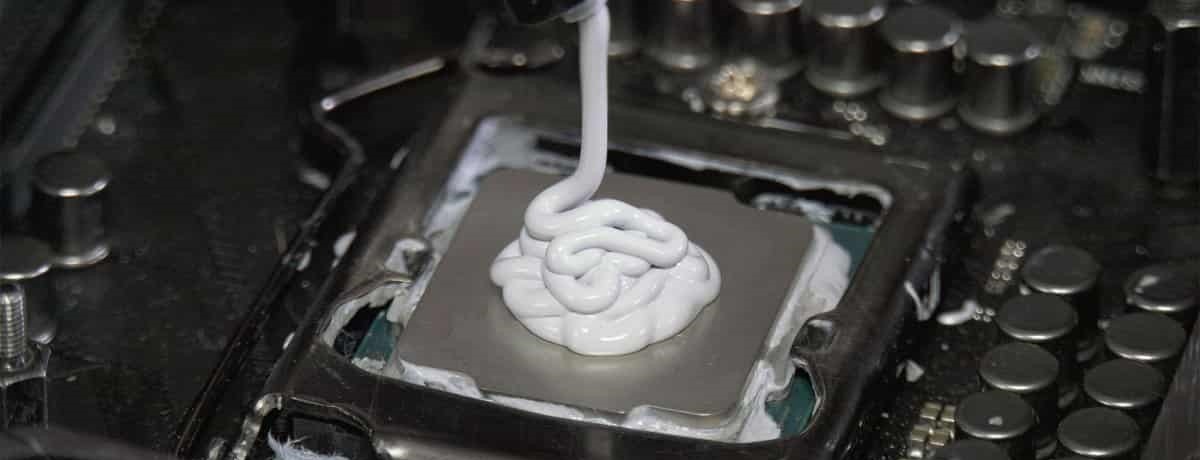
Applying too much thermal paste is counterproductive because the quantity will inhibit the heat distribution. Even worse, it could lead to paste squeezing out under the heat sink. That excess paste can harm your computer and create a short circuit. You should avoid any advice that recommends applying too much paste.

Some people say to spread thermal paste manually over the surface of the chip. The logic behind this tip is that it helps to spread the thermal paste in a thin and even layer. That is true to some extent, but it should never be done manually. Doing so will inevitably trap air bubbles within the paste, which will greatly hinder heat transfer.
How to Apply Thermal Paste to Your CPU
If you are reassembling your PC after maintenance and you already have thermal paste on your CPU and heatsink, you should clean the old paste first. For that, you will need a microfiber cloth and isopropyl alcohol.
- Use the cloth with isopropyl alcohol to slowly remove the paste from the CPU layer by layer.
- Clean the heatsink. Make sure that both contact surfaces are completely clean.
- When the chip is clean and dry, you can apply the thermal paste.
- Place a small dot on the center of the chip.
That dot should not be bigger than a small grain of rice.
Install the heatsink in its place. Be very careful and place the heatsink as straight as possible, minimizing side-to-side movement. That way, you will evenly spread the paste in a thin layer across the CPU.
Turn the computer on and check the temperature of the CPU through BIOS or some other monitoring software. When idle, the temperature should be below 40 degrees Celsius.
How to Apply Thermal Paste to GPU
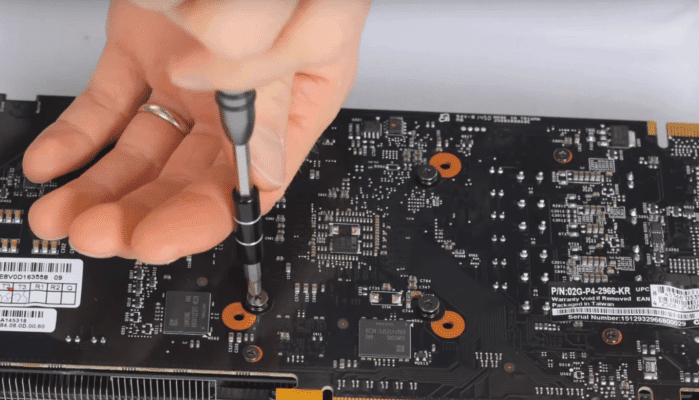
The process is basically the same; you will need to remove the old paste first. You should consult the manual for your GPU or research the specific model on the internet. Different GPUs are assembled differently and may have covers that need to be removed. Slowly remove all screws and remove the plastic cover without applying too much pressure.

Also, watch out for the power plugs and other fragile parts on your GPU.
- When you get to the chip, use a cloth and isopropyl alcohol to slowly clean the old thermal paste from the chip and the cooler.
- Just like with the CPU, make sure everything is clean and dry.
- Next, apply a small dot of thermal paste to the center of the chip. It should be the same amount as with the CPU.
- Place the cover of the GPU back on carefully. Do it straight to ensure even spreading of the thermal paste across the chip.
- Put the screws back in a cross pattern. That way you will make sure that everything is in its place.
- Install the GPU back on the motherboard.
Turn on the computer and test the temperature in BIOS or other monitoring software.
Final Words
Whether you are installing a new component on your PC or performing maintenance on an old one, thermal paste should definitely be kept in mind. High temperatures are the nemesis of your gaming gear. To prevent damage to your hardware, you should know the difference between the different types of paste in order to pick the right one for the job.
However, the most important thing is the application of the paste to the component. It is of vital importance that the application is done right. Taking your time and using proper techniques will prolong the life of your CPU.
Sources:
- Best Method for Applying Thermal Paste, Ars Technica Civic Forums